Inspect without pulling
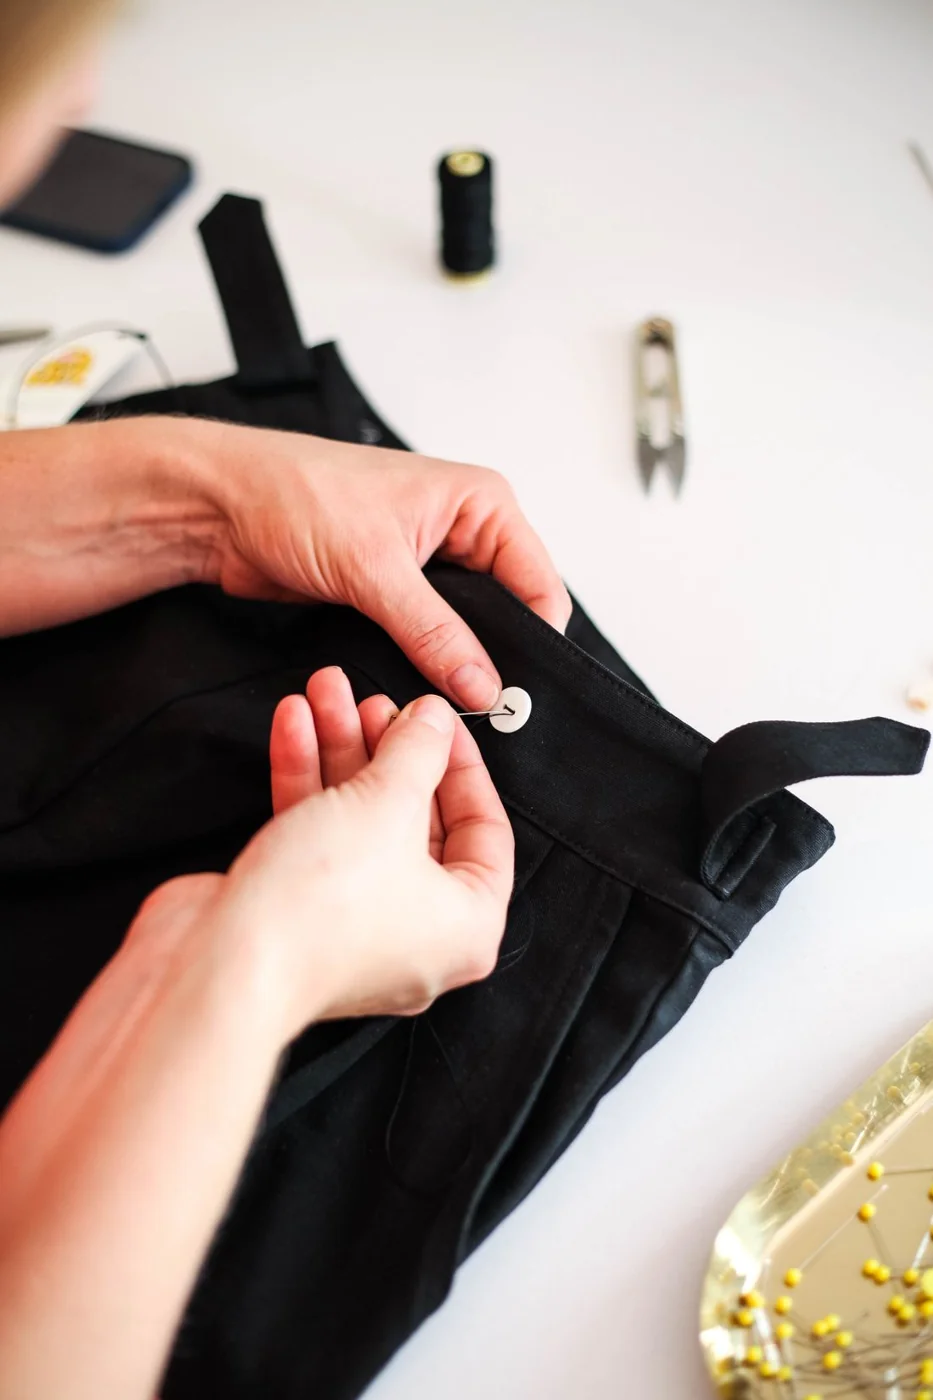
Lay the garment on a clear, well-lit surface. Look at the threads attaching the button and the fabric beneath. Avoid pulling hard to test its strength. A weakened thread may break completely, allowing the button to be lost.
Check the buttonhole as well. If it is stretched or damaged, securing the button may not solve the whole problem. Notice whether the area sits under substantial tension during wear. Repeated loosening can justify examining fit or construction rather than simply adding more thread each time.
Keep a suitable replacement together with the garment
If the button is present and needs removing, store it with a clear link to the garment. Look for a supplied spare if the original is missing. Compare size, thickness, shape and attachment method; a similar colour does not guarantee that a replacement will pass through the same buttonhole.
For unusual buttons, delicate fabric or uncertainty about attachment, an alterations service can help. A flat sewn-on button behaves differently from one with a shank. The repair needs to allow room for the intended fabric layer while holding securely. A universal stitch count does not replace assessing the particular construction.
Fasten and move after the repair
Check the area gently, close the garment and make ordinary movements. The button should meet the buttonhole without newly distorting the fabric. Notice whether the repaired area remains under substantial strain.
Put the needle and remaining materials away afterwards and mark the repair complete. If the button loosens again, record that observation and have the cause assessed. A usable result means more than having the button attached once more: the fastening needs to work during the garment's intended use, without requiring constant attention to the same unresolved problem.